...
Remember the ACM library you downloaded? This is where we need it. Since you will be making use of that library, we need to configure the project such that it knows that the library exists. To that end, switch to the Libraries tab (if your dialog box has two entries, Modulepath and Classpath, select Classpath before you continueand select the Classpath entry (If there is no such entry, don't worry about it…):
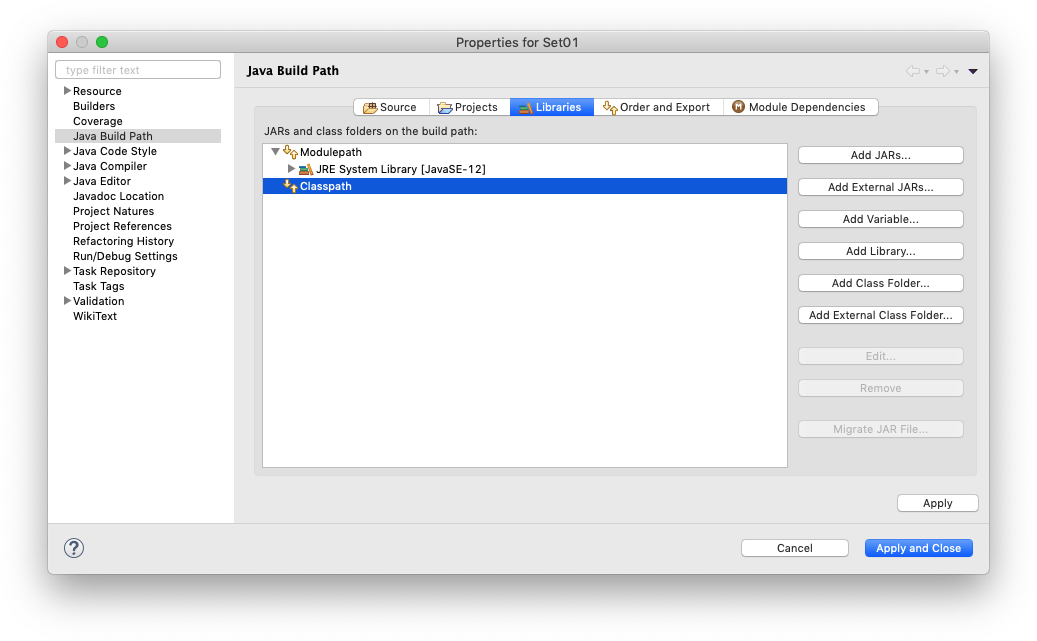
A library in Java is distributed as a file with the `a .jar` jar file extension. Click on the Add External JARs button and select the downloaded ACM library (if you don't remember where you saved it, simply download the library again). Once you have found the library, it should show up in the dialogue. If you expand its entry, it should look something like this:

The ACM library is not ready to be used, but Eclipse won't display its documentation. We like documentation, so we tell Eclipse where to find it. Double-click the Source attachment entry, which will open the following dialog:

Select External location and click the External File... button to select the acm.zip file you downloaded. Click OK to dismiss the dialog, click Click Apply and Close to dismiss the build path configuration and you're all set!
You are now ready to add your first class to your newly configured project. Right-click your new project in the Package Explorer and select New -> → Class:
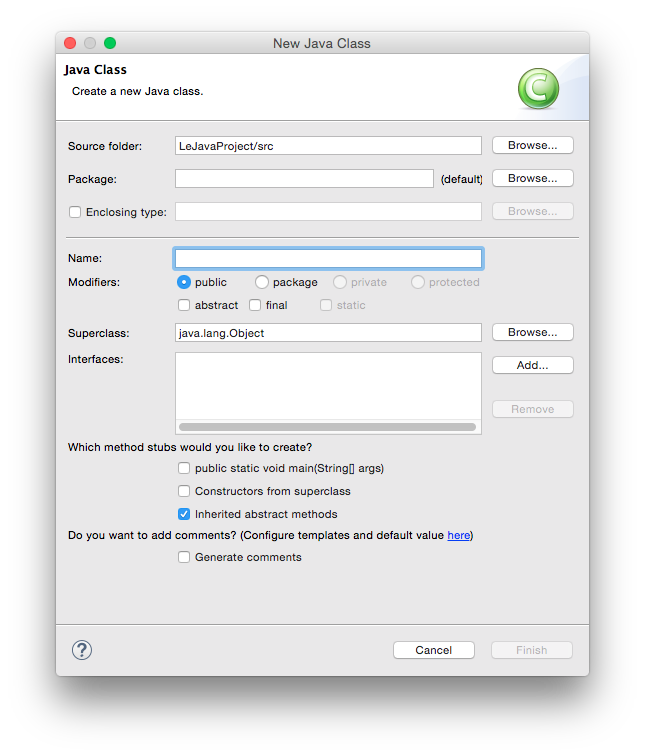
Give your class a proper name. The dialogue will tell you if your class name is valid or not. For the first few programming exercises, you want your class to extend a superclass, such as GraphicsProgram. To (to choose a superclass, click the corresponding Browse button). Also, be sure to click the strange box labelled public static void main(String[] args). The result may look something like this:
...
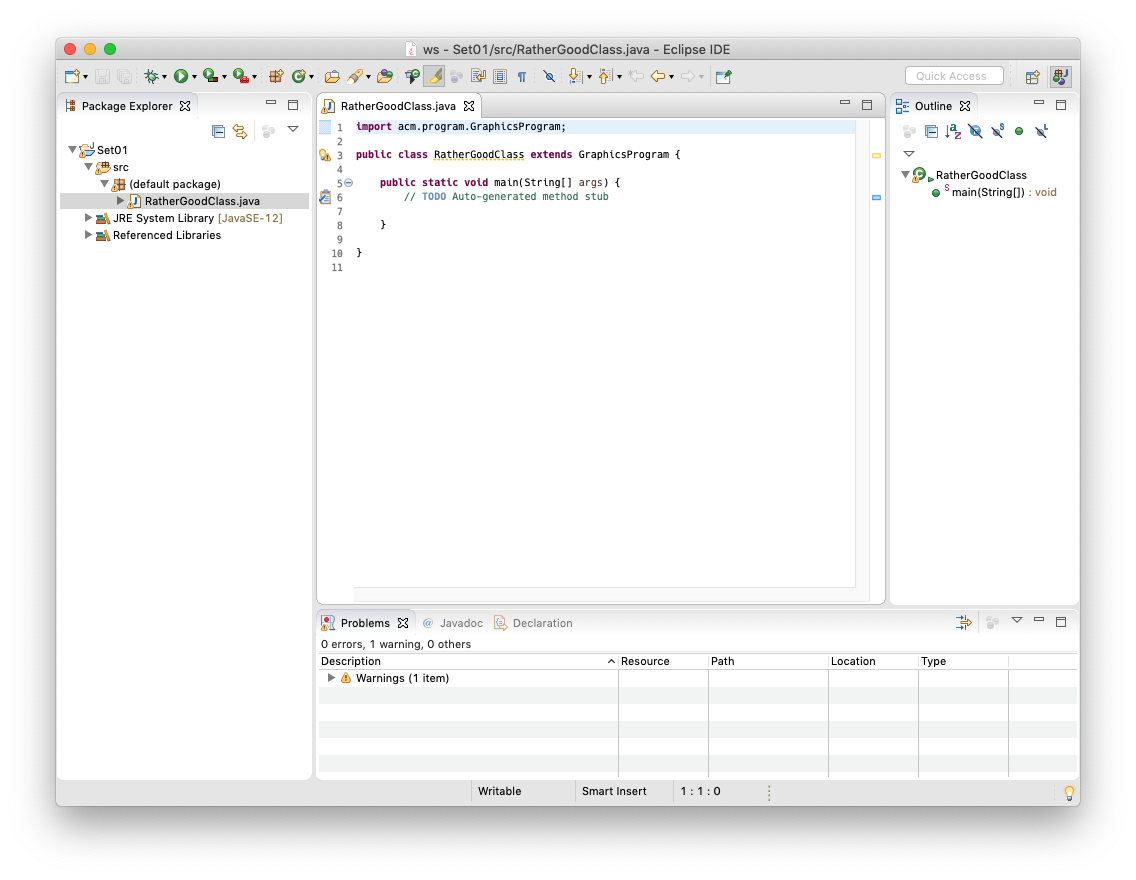
Let's say you have actually written a bit of code and want to see if it works. Save your class. Then, right-click it . To do so, you will need to replace // TODO Auto-generated method stub with the following code:
| Code Block | ||
|---|---|---|
| ||
new RatherGoodClass().start(); |
Of course, the class name (here RatherGoodClass) has to be replaced with the name you chose for your class.
Now you're ready to run your program. Right-click your class in the Package Explorer and select Run As -> Java Applet (or Java Application) → Java Application. If everything is fine, a window should pop up and your program should be executing. If instead Java cannot execute your program because of errors in your source code, Eclipse will tell you so:
...