...
Enter a project name that describes the project. For your homework assignments, for example, you may want the project name to contain the assignment the project is supposed to solve. Leave the rest untouched and click Next. The dialogue will change: Finish. Your Eclipse workspace will now contain an entry for the new project. Eclipse has to be told that you want to use the ACM library with that project. To configure it that way, right-click on the project, click on Build Path and select Configure Build Path...:

Remember the ACM library you downloaded? This is where we need it. Since you will be making use of that library, we need to configure the project such that it knows that the library exists. To that end, switch to the Libraries tab:
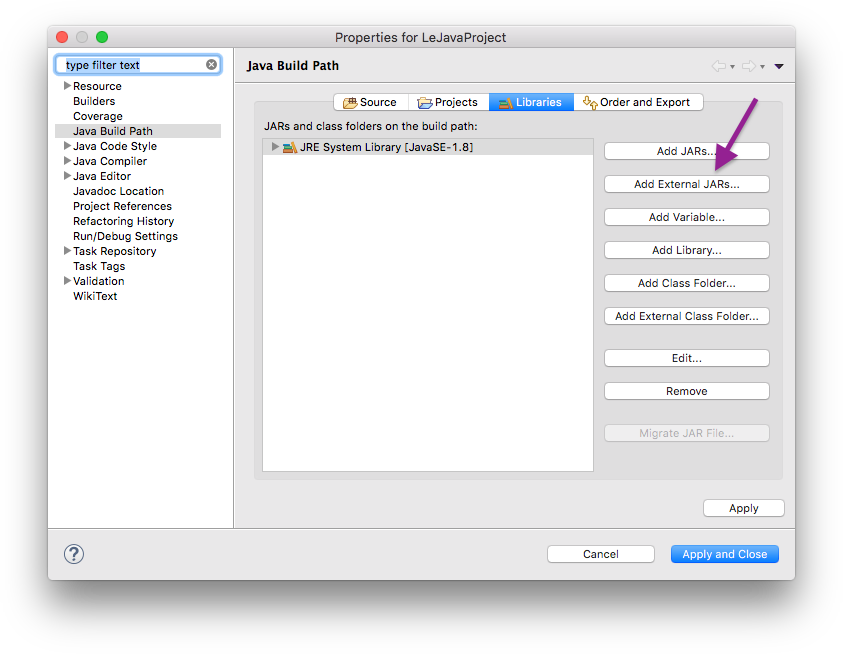
A library in Java is distributed as a file with the `.jar` file extension. Click on the Add External JARs button and select the downloaded ACM library (if you don't remember where you saved it, simply download the library again). Once you have found the library, it should show up in the dialogue. If you expand its entry, it should look something like this:
Expand the entry of the acm.jar library, select the Source Attachment property of the library and click on Edit. Switch to External location and select the acm.zip which you downloaded.

The ACM library is not ready to be used, but Eclipse won't display its documentation. We like documentation, so we tell Eclipse where to find it. Double-click the Source attachment entry, which will open the following dialog:
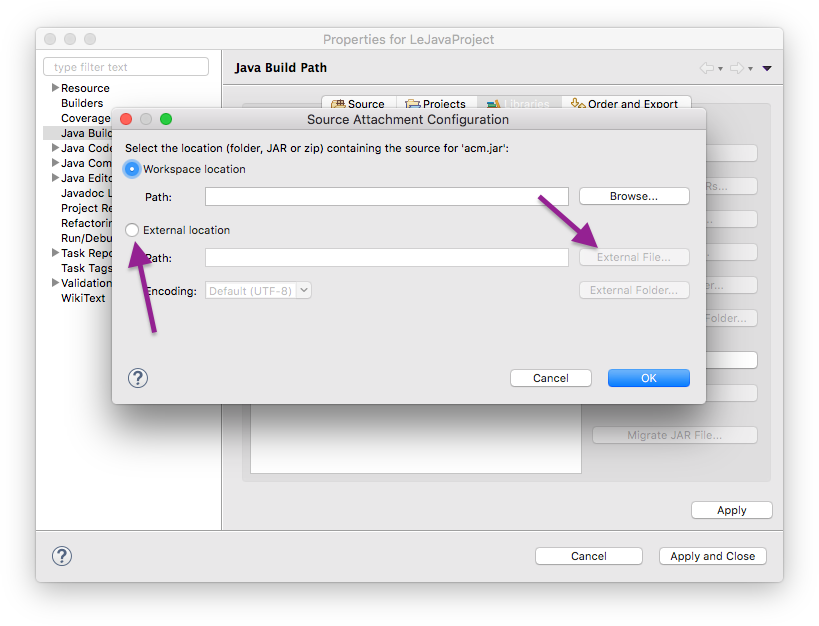
Select External location and click the External File... button to select the acm.zip file you downloaded. Click OK to dismiss the dialog, click Apply and Close to dismiss the build path configuration and you're all set!
Finally, click Finish and marvel at your new project showing up in the Package Explorer. You are now ready to add your first class to it. Right-click your new project in the Package Explorer and select New -> Class:
...