Preliminaries
There's a few things to do before we dive into the tutorial itself. For example, to do Eclipse programming, you will have to get your hands on an Eclipse installation first. Read through the following sections to get ready for the tutorial tasks.
Required Software
Install Eclipse. For what we do, we recommend installing the Eclipse Modeling Tools.
Finding Documentation
| Excerpt Include | ||||||
|---|---|---|---|---|---|---|
|
Your First Steps with Eclipse
Starting Eclipse
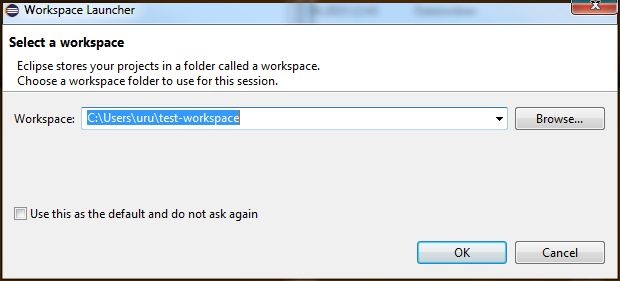
- Eclipse uses workspaces to store, for instance, user preferences. Upon the first start of eclipse you will be asked to specify a location. Select one as you like.
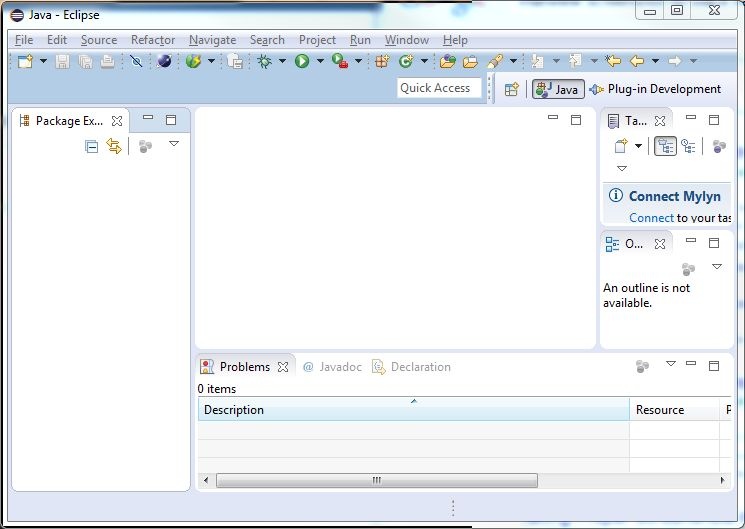
- Switch to the workbench, you should see something like this
Importing Existing Plug-ins
- Download the zip file with all our prepared tutorial plugins from our Stash. Unzip the file.
- Open the context menu within the Package-Explorer (on the very left, right-click the empty space).
- Select Import. Then chose General > Existing Projects into Workspace.
- Browse to the location where you unzipped the downloaded plug-ins. Check the checkbox in front of the
de.cau.cs.kieler.tutorials.plugins.shouterplug-in and press Finish.
Creating Your First Plug-in
- Open the context menu within the Package-Explorer (on the very left, right-click the empty space).
- New -> Project...
- In the project wizard, choose Plug-in Project and click Next.
- As the project name, enter
de.cau.cs.rtprak.login.simple. Uncheck Use default location (which would put the project into your workspace), and put it into your local clone of the Git repository instead (the Location should read something like/path/to/git/repository/de.cau.cs.rtprak.login.simple). Click Next. - As the name, enter
Simple (login). Also, make sure that Generate an activator and This plug-in will make contributions to the UI are both checked. Click Finish. (Eclipse might ask you whether you want to switch to the Plug-in Development Perspective, which configures Eclipse to provide the views that are important for plug-in development. Choose Yes. Or No. It won't have a big influence on your future...) - Eclipse has now created your new plug-in and was nice enough to open the Plug-in Manifest Editor, which allows you to graphically edit two important files of your plugin:
plugin.xmlandMETA-INF/MANIFEST.MF. (By the way, this would be a great time to research the editor and the two files online.) Basically, those two files provide information that tell Eclipse what other plug-ins your plug-in needs and how it works together with other plug-ins by providing extensions and extension points. Our new plug-in will depend on two other plug-ins, so switch to the Dependencies tab of the editor and add dependencies toorg.eclipse.ui.editorsandorg.eclipse.jface.text. Save the editor and close it. (You can always reopen it by opening one of the two mentioned files from the Package Explorer.)
Extension Points
For the final part of the tutorial, we will now use the extension point mechanism of Eclipse to add some behavior to our Turing Machines. An extension point is basically a well-defined point where other plug-ins can register to add functionality. The extension point is basically defined by an XML Schema file that defines an interface; other plug-ins may access this interface using XML code in their plugin.xml file, so-called extensions. Our extension point will provide an interface for classes that define behavior of a Turing Machine, and we will call them head controllers (programs that control the tape head).