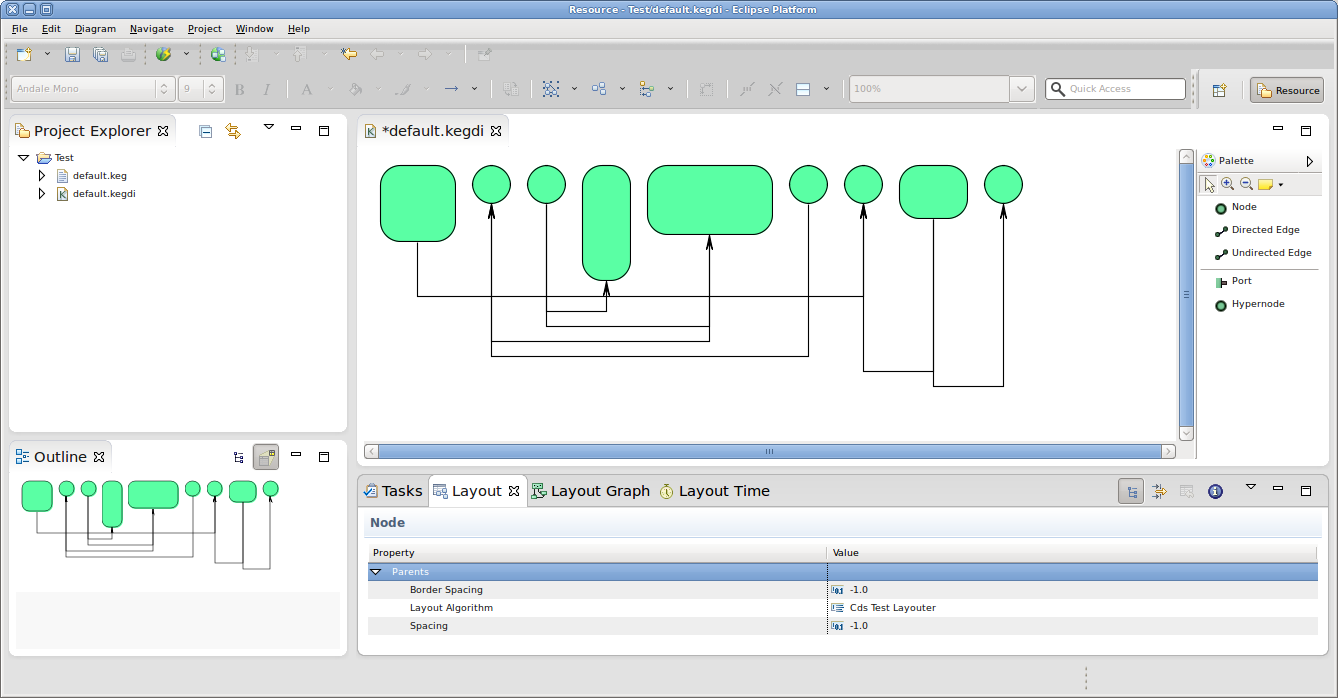
Welcome to the second tutorial! We will work our way through installing a proper Eclipse setup and developing a first very basic layout algorithm. The layout algorithm will integrate with KIML (KIELER Infrastructure for Meta-Layout), our very own framework that connects graphical editors with layout algorithms. Once you're finished, you should be able to create new Eclipse plug-ins and know how to write layout algorithms for KIML. And you should have a running Eclipse-based application that should look something like this:
| Warning | ||
|---|---|---|
| ||
Insert link to presentation slides. |
| Table of Contents |
|---|
Preliminaries
...
As far as KIML and layout algorithms are concerned, you can always refer to our Wiki which has a section about KIML and the KIELER layout projects. The documentation is not complete, however, so feel free to ask Miro or Christoph Daniel for help if you have questions that the documentation fails to answer.
...
Add the following constants:
Code Block language java /** default value for spacing between nodes. */ private static final float DEFAULT_SPACING = 15.0f;
Use the following code as the skeleton of the
doLayout(...)method:Code Block language java progressMonitor.begin("Login_name layouter", 1); KShapeLayout parentLayout = parentNode.getData(KShapeLayout.class); float objectSpacing = parentLayout.getProperty(LayoutOptions.SPACING); if (objectSpacing < 0) { objectSpacing = DEFAULT_SPACING; } float borderSpacing = parentLayout.getProperty(LayoutOptions.BORDER_SPACING); if (borderSpacing < 0) { borderSpacing = DEFAULT_SPACING; } // TODO: Insert actual layout code. progressMonitor.done();- It is now time to write the code that places the nodes. Here's two suggestions for how you can place them:
- The simplest way is to place nodes in a row, next to each other. To make this more interesting, you could also place the nodes along the graph of a Sine function.
- Another way might be to place them in a square or a circle. You would have to think about how exactly to align the nodes, which may well vary in size.
| Info | |||||
|---|---|---|---|---|---|
| |||||
The following tips might come in handy...
|
...
Once you're done implementing the edge routing code, test it by running your debug configuration again, as before.
Before You Run Away...
...don't forget to commit your layout algorithm to your repository, and to push your commits to the tutorial repository on our server. If it's not there, we won't be able to see your work! ![]()